Drawing a Simple Sign
For the first exercise you are going to create a color sign announcing a garage sale for a neighbor. To keep it simple you will use the standard defaults for your drawing. The object of this exercise is to gain some familiarity with operating the CorelDRAW interface.
Open the File menu and choose New. You should have a blank page. In some cases depending on how the PC is configured, when you open the program the blank page will be opened for you by default. From the Menu bar choose Layout and Page Setup. Change the Page layout from Portrait to Landscape.
Select the Rectangle tool (as shown in the previous page) by clicking on it. Place the cursor on the upper left-hand corner of the page, then drag it to the lower right corner and release. You should have a rectangle inside the page with space to spare on the sides.
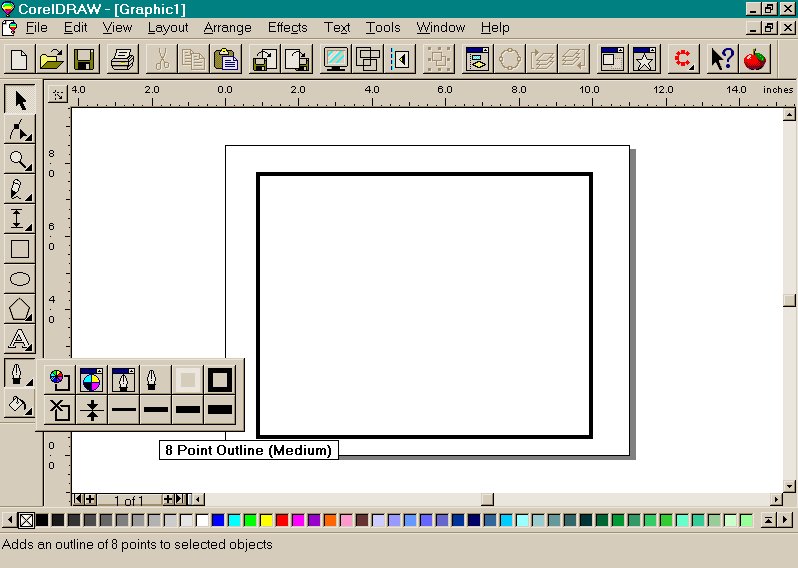 Click on the Outline tool. A fly-out menu will appear. This menu controls the appearance of an object's outline. Click on the lower line fourth option, which suggests 8 point Outline (Medium). The outline of your rectangle has now a black line, as shown in the figure.
The above graphic shows the rectangle on the page with the outlined border. It also shows the different options available within the Outline tool.
Click on the baby blue shade on the Palette (color strip) on the bottom of the screen. Your rectangle is now filled with blue.
Next we will add our message. Click on the Toolbox Artistic Text icon, and move the mouse pointer to the middle of the page. Click once. Now type in the following message and press the Enter key to start each new line.
Garage Sale Saturday (press Enter)
From 10 am to 6pm (press Enter)
21 Prince Street (don't press Enter)
The text appears on the page as you type. Don't worry about its position or size; you'll fix that next.
Click on the Pick tool located in the Toolbox. Little squares called handles should appear around the letters you just typed. That tells you which object on the page is selected. If they aren't there, press the Tab key until they appear. The Tab key moves through and selects each object sequentially in the drawing.
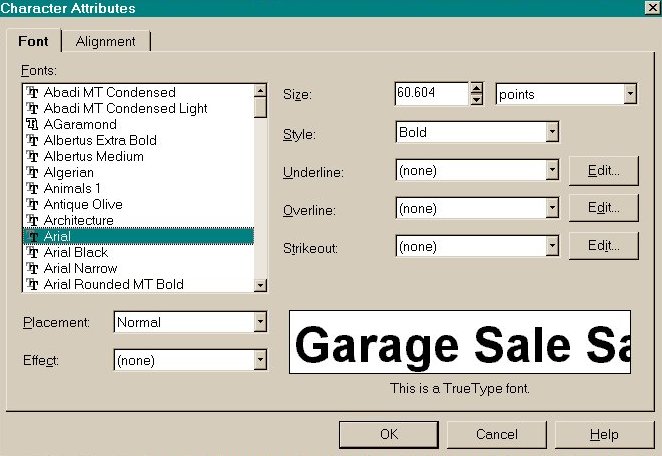
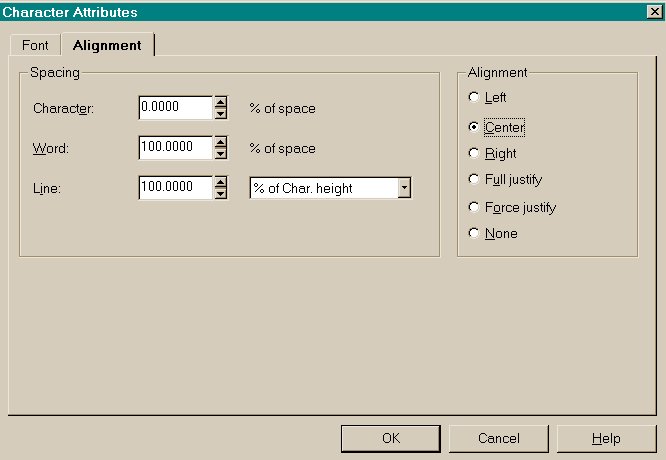
Select the Text by clicking on it. Choose the Text option from the Menu bar. Choose the first option Character. Set the dialog box's properties similar to the figures below.

In the Font size selection choose size 60 or nearabouts, make sure the size is in points. Make the style Bold. You can pick any font you want, but preferably a selection, which would be easy to read. When the selection is done, click on OK to close the Dialog box.

Now let's center the text on the page. With the text selected Press Ctrl+A. The Alignment menu appears. Choose the double arrow button to align the text to the center of the page. Click on Apply, the text is centered across the page for you. Close the Align & Distribute option menu/window, by clicking on the top right hand X.
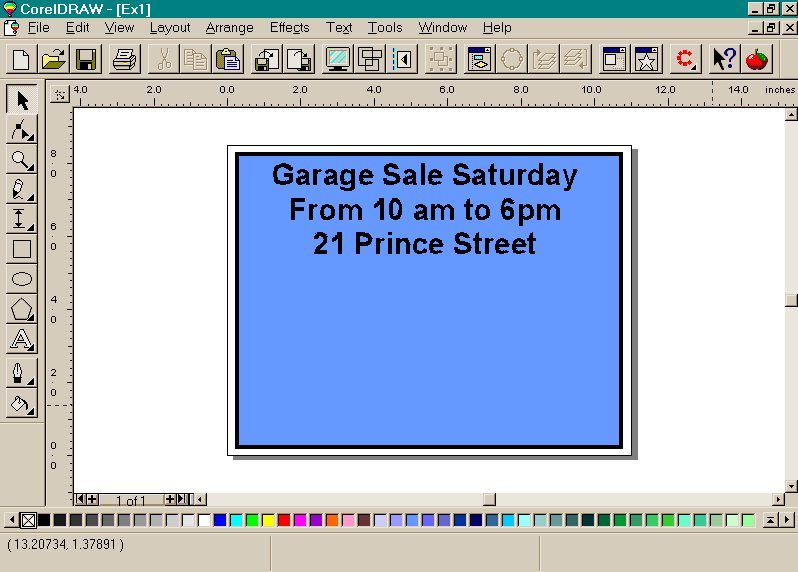
Your work should look close to the figure below:

Now would be a good time to save your work. Click on the File menu or alternately you can click on the floppy disk icon on the toolbar and save your work. Call your file garagesale. The program will automatically add its own .CDR extension, which identifies it as a CorelDRAW vector format.
You can come back to this exercise later if you so wish. But first just a summary of what has been done so far.
Summary
The simple exercise showed you how objects are drawn, colored, and aligned on a page. Once an object is formed, it can be manipulated using a wide range of tools and special effects available through the menus. You used the Rectangle tool to cover the page, the Outline tool to set the thickness of the line around your box, and the Fill tool to provide inside color. With the Text tool you added your message.
 Click on the Outline tool. A fly-out menu will appear. This menu controls the appearance of an object's outline. Click on the lower line fourth option, which suggests 8 point Outline (Medium). The outline of your rectangle has now a black line, as shown in the figure.