Sunrise, Sunset
You are going to create a sunset using simple objects and fills. Remember that an outline defines the edge of an object and gives lines their character, whereas fills are the internal structure of the elements of a drawing. The drawing will be a picture of the late afternoon sun setting over the ocean. Be aware that the exact colors and quality of your drawing on the screen will depend on the capabilities of your monitor and display card.

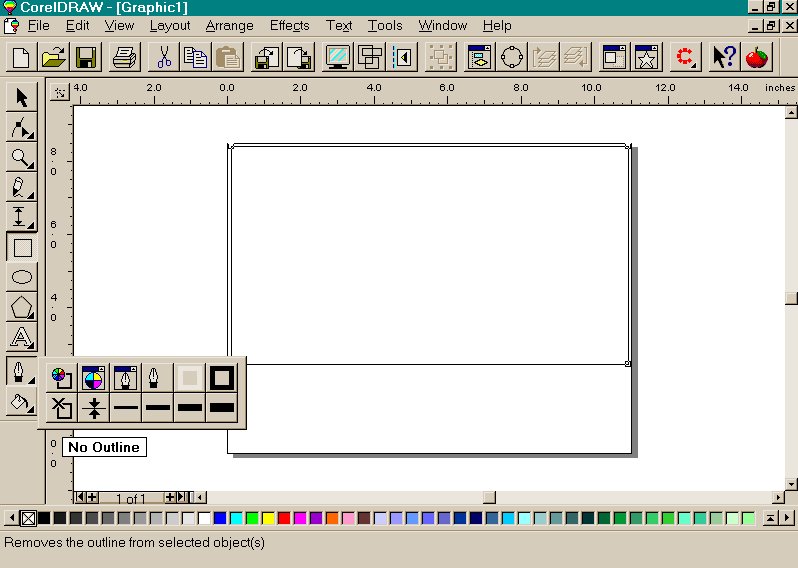
Open a new file and set the page to landscape. Make sure the status bar and rulers are showing. Draw a rectangle, which starts from the left of the page and that it covers the upper two thirds of your page. Use the rulers for sizing. The box should come down approximately 5 to 6 inches down and cover to both sides of the page. Select it and set the outline to None (use the bottom of the window or on the fly-out menu).
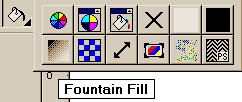 Open the Fill fly-out and click on the Fountain fill icon.
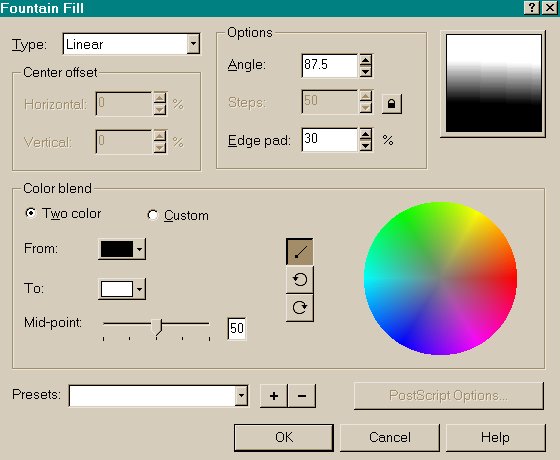
Set the type to Linear and the Angle to 87.5. This gives you a slight shift in the way the fill is drawn within the rectangle, like turning a page slightly to the right on a desktop. The rectangle stays the same shape. Now set the Edge pad to 30. This produces a more pronounced border between the two colors when they are blended together.
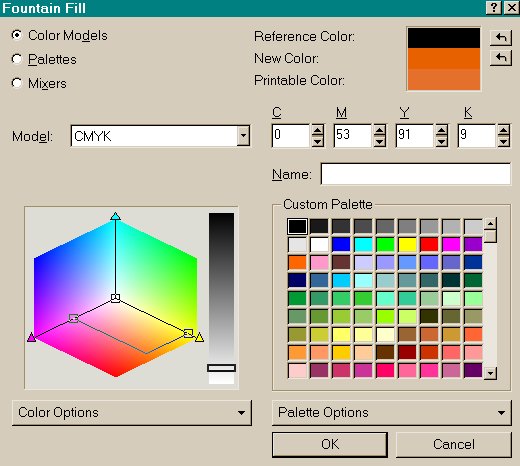
Select the From color (from the Color blend section) and click on the Others button. This accesses the Fountain Fill Color Selection box. Make sure the color settings are on CMYK. You are going to use the entry boxes to get an exact color. Adjust the cyan setting to 0, the magenta to 53, yellow to 91, and black to 9. In the future, settings like that will be referred to as "C=0, M=53, Y=91, and K=9." Click OK. You will be returned to the Fountain Fill dialog box.
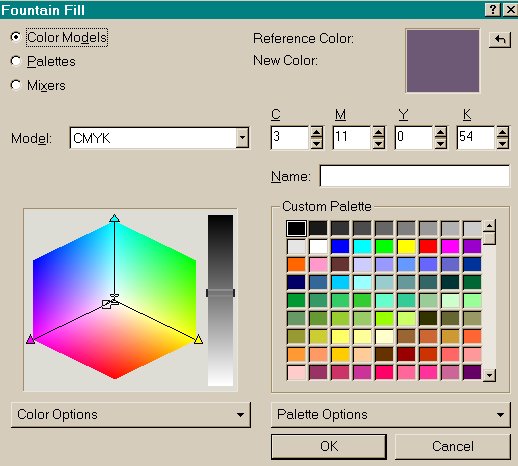
Next you must set the top part of the fill to depict the darkening sky. Select To color and open Others…button under the To heading. Set the values to C=3, M=11, Y=0, and K=54. Click OK.

 Use the Rectangle tool and place a box across the bottom of the page starting where the first finishes approximately, and take it all the way down the page. You are going to create an ocean surface and put the reflection of the sun on it. Select the new rectangle and this time after choosing the Fill button from the toolbox, choose the Radial fill option within the Fountain Fill dialog box. Change the Edge Pad to 20. Then set the From color values to C=55, M=55, Y=0, and K=45. The To color values are C=5, M=0, Y=12, and K=10. This gives you a blue area with a yellow gold circle radiating down from the mid-right top. Click on OK to exit the dialog boxes.


Use the Ellipse tool and Ctrl key to create a circle about 2.5 inches across. Use the status bar as a guide. Then give it a radial fill as follows: Edge pad of 20; the From colors are C=0, M=47, Y=92, K=8; the To colors are C=6, M=0, Y=52, and K=0. Once you have the circle, set it so that half of the circle rests on each of the two boxes. The outlines are to help the objects stand out; yours should not have any outlines.
Now you have all three elements, but the sun rarely sets in front of the ocean. And if you look closely along the right side of the page you can see that the two rectangles aren't exactly lined up. Select the sun circle and press the Ctrl-PgDn combination once. Now the sun is at the right angle. Use the pick tool to choose the lower rectangle and align it to the top one. Your image should look close to the figure below:
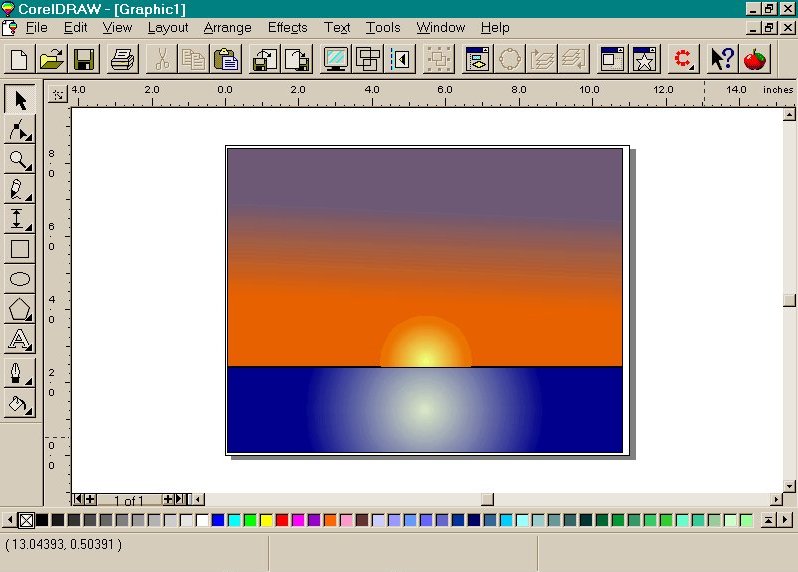
You can shift the sun's location with the Pick tool so that it is centered over the reflection in the ocean rectangle, and play with the pad setting to enhance the effects. Also take a little time and experiment with different colors and pad settings. Move the position of the sun and reflections; adjust the color to create a sunrise.
By now you should have a basic feel for how objects are drawn, sized, outlined, and filled. The exercise showed how a CorelDRAW illustration can be made appealing without a lot of objects by taking advantage of the program's sophisticated tools. Take some time to practice a bit before going on if the basic concepts aren't clear.
The Snowman
To get some basic drawing techniques right, see if you can do the snowman shown below, or better still improve on it!
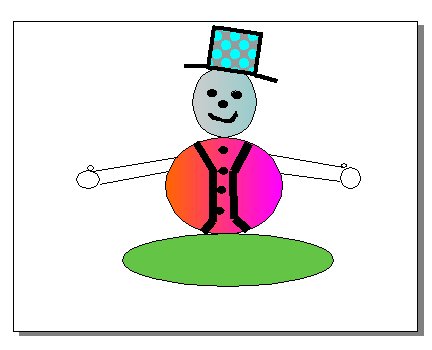
The snowman was drawn using the Ellipse tool, the Connector line tool within the Vertical Dimension tool. The Freehand tool was also used with the Fill tool providing the colors, as well as the outlines. The combination of Ctrl-D was also used for creating some duplicates.
|
Top of the page |
To the previous page |
To the next page |
To the main page |