All together now
CorelDRAW has a number of tools available to bring objects together as one, and blend them as one. Some of them are mentioned here for your perusal.
Group
One of the useful tools to use is the Group command. This is accessible in the Arrange menu. This lets you combine objects so that you can then treat them as a single object. You can color and manipulate the grouped objects as you would a single object. This makes applying attributes to more than one object at a time easier.
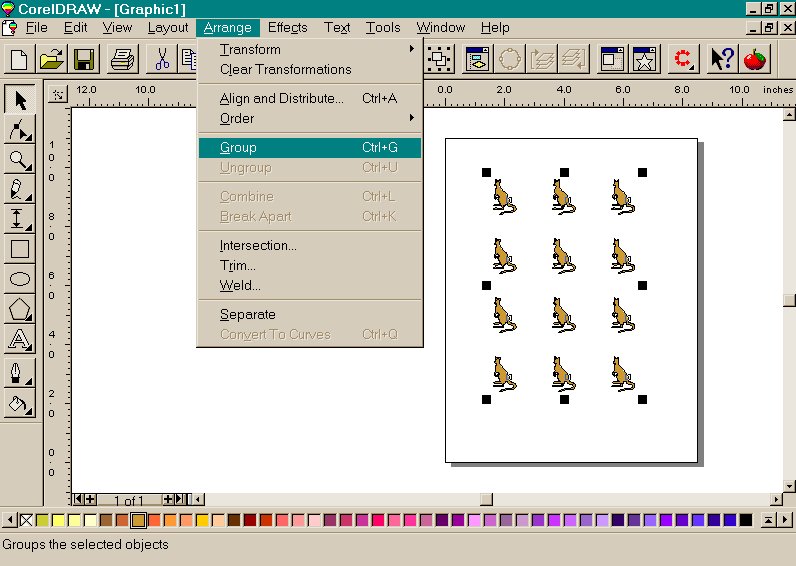
To group objects select them all with the Pick Tool and the Shift key combination, and choose the Group command. When you select any object from a group, CorelDRAW selects the rest of the objects in the group automatically. You cannot use the Shape Tool on a grouped object, but you can use the Pick Tool to resize and move it.
You can apply most features to a grouped object, except for the following: Combine, Break Apart, Edit Text, Fit Text to Path, Straighten Text, Align to Baseline, and Extrude.
Selecting Ungroup separates a group of objects, returning each object to its independent status, so that you can manipulate them as single objects.
Combine
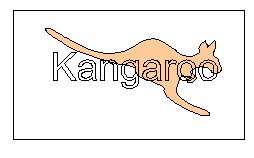
The Combine command in the Arrange menu is a different type of grouping, which you can use for a number of effects and reasons. When you combine two or more objects, wherever they overlap will be a gap or window that you can see through. You can use this to create a mask effect, where you can see one object through parts of another. CorelDRAW automatically converts text, ellipses, and rectangles to curves when you group them with the Combine command. You can't edit them as you could before you combined them.
To create the image on the right, we selected the text and the rectangle and combined them. This created a transparent area where the text and the rectangle overlapped. We then placed the image of the kangaroo at the back. Because we placed the kangaroo on the page last, we needed to use the Ctrl-PgDn key combination.
Weld
The Weld command lets you join or "weld" objects that overlap so they become the one object. It differs from the Combine command in that it removes all the overlapping object parts. The Weld command is under the Menu option Arrange.
Choose the overlapping objects with the Pick Tool before choosing the Weld command. After you choose the Weld command, the objects become one continuos object. When you weld objects, they take on the fill and outline of the last object you selected before you welded them.
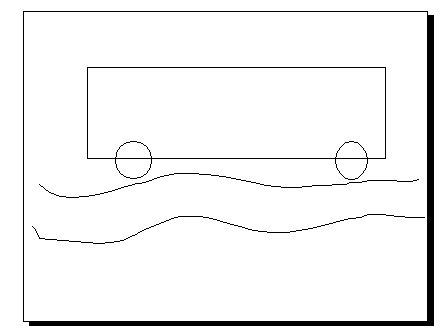
You can also weld single objects that have lines that cross. This breaks the object into several subpaths.
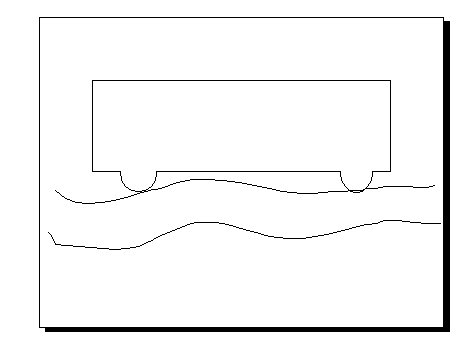
In the first image on the left we have drawn an image with the Rectangle tool and the Ellipse tool. With a bit of freehand drawing create a path.
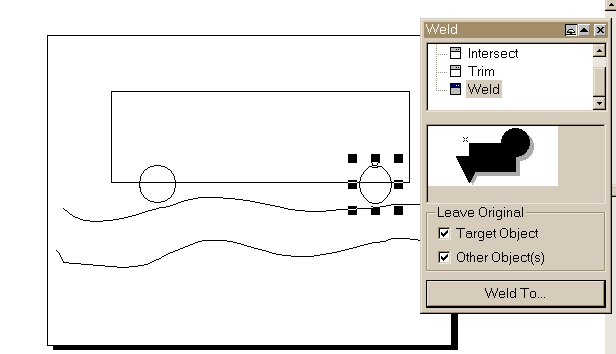

In the second path, we have welded the first circle to the rectangle, and the process of the second circle being welded is in progress with the Weld roll-up menu on the right hand side of the picture. You will notice that we have checked both the boxes for Target Objects, and Other Objects, which makes it easier to weld the objects together. Once you click on the Weld To…button you are presented with a floating black arrow, with which you can "weld" the objects that you want, a bit of care and persistence is needed in this operation.
Once the object is welded, you then have to move on to the next one, if there is a next one, otherwise you would then close the roll-up menu.
You may not see the objects welded together as you would be hoping to see straight away. For this you have to click on the main object and move it out of the page on the side. The object moved will be the one, which is welded. The remaining one is the original. You can now delete the original after selecting it. Now you can move the welded object back into the page.
Intersection
You use the Intersection command in the Arrange menu to create a new, additional, object out of the intersection of existing objects. Select the overlapping objects with the Pick Tool and then choose the Intersection command from the Arrange menu. A new object is created from the intersection of the original objects.
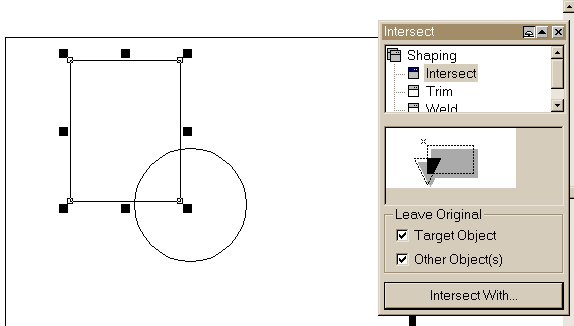
The first image on the left shows a rectangle and a circle drawn with the rectangle selected. It also show the Intersect roll-up menu. Once again the two options are checked for stability of use. When the button Intersect with is clicked a floating black arrow is provided for the user to point out the area wished as an Intersection.
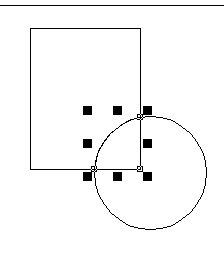
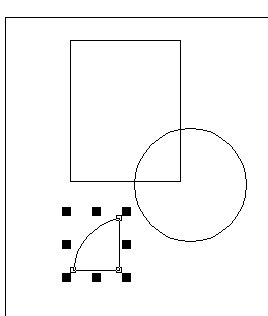
In the second image we have selected the area to Intersect. In other words a new image area has been outlined. After the operation, and the closure of the roll-up menu, you need to click on the area itself and drag with the mouse to an empty space. A blue dashed outline of the new object will appear. The original objects however remain unaffected by the whole operation, and remain as before.
In the third image a new object has been created.
|
Top of the page |
To the previous page |
To the next page |
To the main page |